
1. Install the Designer
Open the Web Browser like i used Google Chrome
https://vCACFQDN:5480/installer
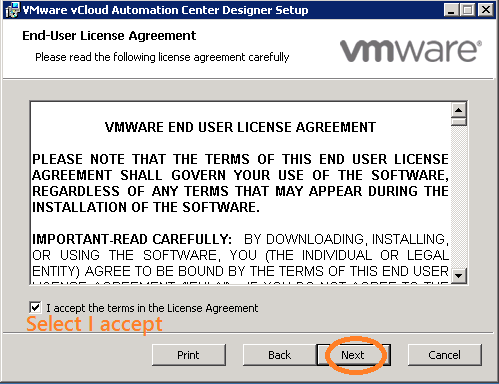
Click Proceed Anyway if the button appears. > Click vCloud Automation Center Designer. This will download vCAC Designer > Click DesignCenter-Setup.exe in the footer of the browser. > Click Run. > When prompted by the installation wizard, perform the following actions.


2. Create a Sample State Change Workflow
select Start > All Programs > VMware > vCAC > vCAC Designer. On the vCAC Designer ribbon, click Load.


marks. > In the Toolbox pane, drag the SetMachineProperty activity to the design surface under Start. > Connect Start to SetMachineProperty by pointing to the bottom of the Start activity and
dragging the connecting line to the SetMachineProperty activity. > Select the SetMachineProperty activity and set the following properties in the Properties pane on the right panel.


Click Send


3. Assign the Building Machine Workflow to a Blueprint
Login with Tenant-admin
https://vCACFQDN/shell-ui-app
Username = tenant-admin@vclass.local
Password = as assigned
Click the Infrastructure tab. > In the left pane, select Blueprints > Blueprints. > From the list of blueprints, select the Windows 2003 Basic blueprint and select Edit. > Click the Properties tab and click New Property. > Add two custom properties to the blueprint with the following details


Login with bg-admin
https://vCACFQDN/shell-ui-app
Username = bg-admin@vclass.local
Password = as assigned
Click the Catalog tab. > In the list of blueprints, select the Windows 2003 Basic blueprint and select Request. > Click the Properties tab, review the Welcome.Message custom properties and its current value. > Click Submit. > Click OK. > Click the Requests tab and monitor the provisioning status of the machine.
You must refresh the page every few minutes until the status is Successful. Although
provisioning varies with your environment, this machine takes about 8 minutes to deploy.
1Click the Items tab to identify your newly provisioned machine.
In the Provisioned Machines list, click your recently provisioned machine. > Click the Properties tab. > Review the Welcome.Message custom properties and its current value > Click Close


https://vCACFQDN/shell-ui-app
Username = tenant-admin@vclass.local
Password = as assigned
Click the Infrastructure tab. > In the left pane, select Blueprints > Blueprints. > From the list of blueprints, select the Windows 2003 Basic blueprint and select Edit. > Click Yes. > Repeat steps for the ExternalWFStubs.BuildingMachine custom property. > Click OK. > In the upper-right corner of the browser, click Logout.
No comments:
Post a Comment